San Diego families often call me, convinced that the only path to breathing room is an expensive addition. I get it—our coastal bungalows and post-war ranches can feel tight. Yet, in many cases, we’ve delivered the elbow room clients crave without moving a single exterior wall.
I’m going to show you how a strategic reconfiguration can unlock square footage you already own—and why that approach may save tens of thousands of dollars, months of construction dust, and a mountain of permits.
🎧 Thinking about building out or reshuffling walls? Hit play below to hear the quick-fire pros and cons while you commute across the 5 or stroll the Embarcadero! 👇
With those big-picture wins in mind, let’s dive into why reconfiguring often beats a full addition, here in San Diego.
Building additions often require structural engineering, grading, and coastal overlay reviews, which can extend the approval process by a year or more. A well-planned interior remodel typically proceeds through the plan check in ≈ 8–10 weeks and avoids costly impact fees.
Financially, additions in San Diego typically start around $550 per sq ft; whole-home interior renovations average $200–$250 per sq ft, resulting in a significant savings gap.
You’ll also avoid eating into precious yard space and can stay in the house through much of the work, lowering temporary-housing costs.
Even the most charming San Diego homes often conceal a few design remnants from decades past—think oversized corridors, mysterious closets, or mechanical closets placed in the least desirable location. Before we swing a hammer, I like to walk clients through the house and pinpoint these “space stealers.” By understanding why certain areas feel cramped, we can address the root cause rather than just masking the symptoms.
Builders in the 1970s loved grand corridors. Trim five inches from each side, and you can recapture 20–30 sq ft—enough for a homework niche or linen cabinet.
With California Closets and IKEA Pax systems doing the heavy lifting, many single-purpose closets become dead zones. Removing two back-to-back closets can add approximately 15 square feet to a cramped bedroom.
Old gravity furnaces often sat in hall closets. Today’s high-efficiency units fit in an attic or garage corner, returning up to 25 sq ft to the living space.
If you never host a sit-down dinner, that separate dining room can merge with the kitchen, forming a spacious eat-in hub.
I’ve transformed a low-roof attic into a lofted teen lounge and converted the rear 4 feet of an oversized two-car garage into a mudroom/laundry combo—no exterior changes were needed.
Once you start seeing your hallways, closets, and underused rooms as negotiable real estate, the possibilities multiply quickly. The next step is translating those square-footage opportunities into concrete design moves—let me show you some of the most effective tricks in the remodeler’s toolkit.
Below is my short list of high-impact, budget-friendly tactics we reach for again and again. These moves respect your existing footprint while completely re-imagining how each square foot performs for daily life.
Non-load-bearing walls are inexpensive to move, and you can replace even load-bearing walls with concealed LVL beams for under $10k on average.
Narrow a hallway from 48 in. to 40 in.; you’ll never notice the difference, but that extra space might be enough to widen a nursery for a proper closet.
Merge the breakfast nook and galley kitchen into an island; blend the laundry and powder room behind pocket doors.
Window seats with deep drawers or wall-to-wall cabinetry free up floor area while adding charm.
A tankless water heater hung outside can liberate a full utility closet indoors.
As long as we meet a 7-ft ceiling clearance over 50% of the space, the area counts as living square footage under the California Residential Code.
Ideas are powerful, but nothing convinces like real-world proof. Let’s look at three recent projects where these tactics transformed dated layouts into open, light-filled homes, without adding a single square foot beyond the original walls.
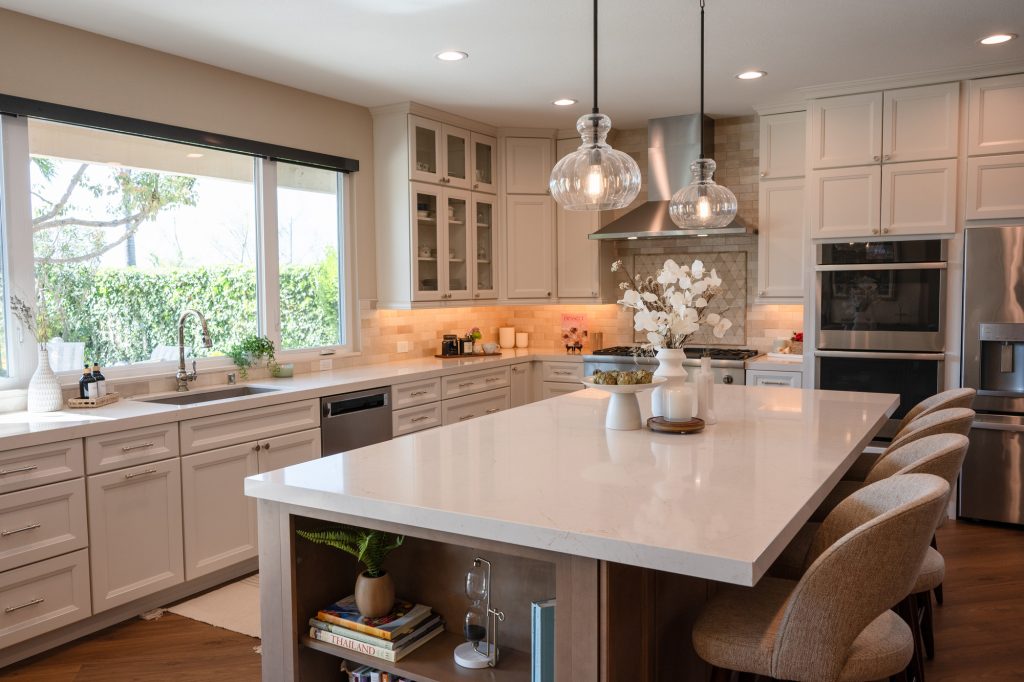
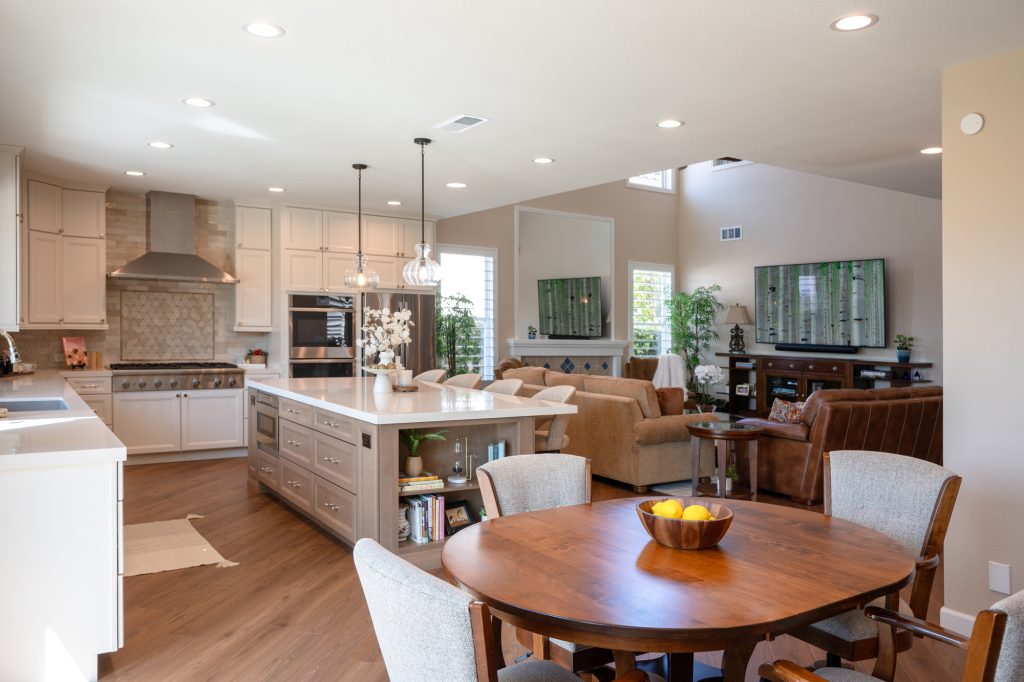
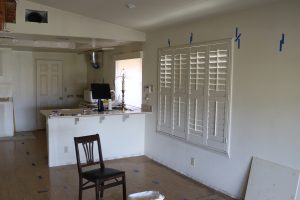
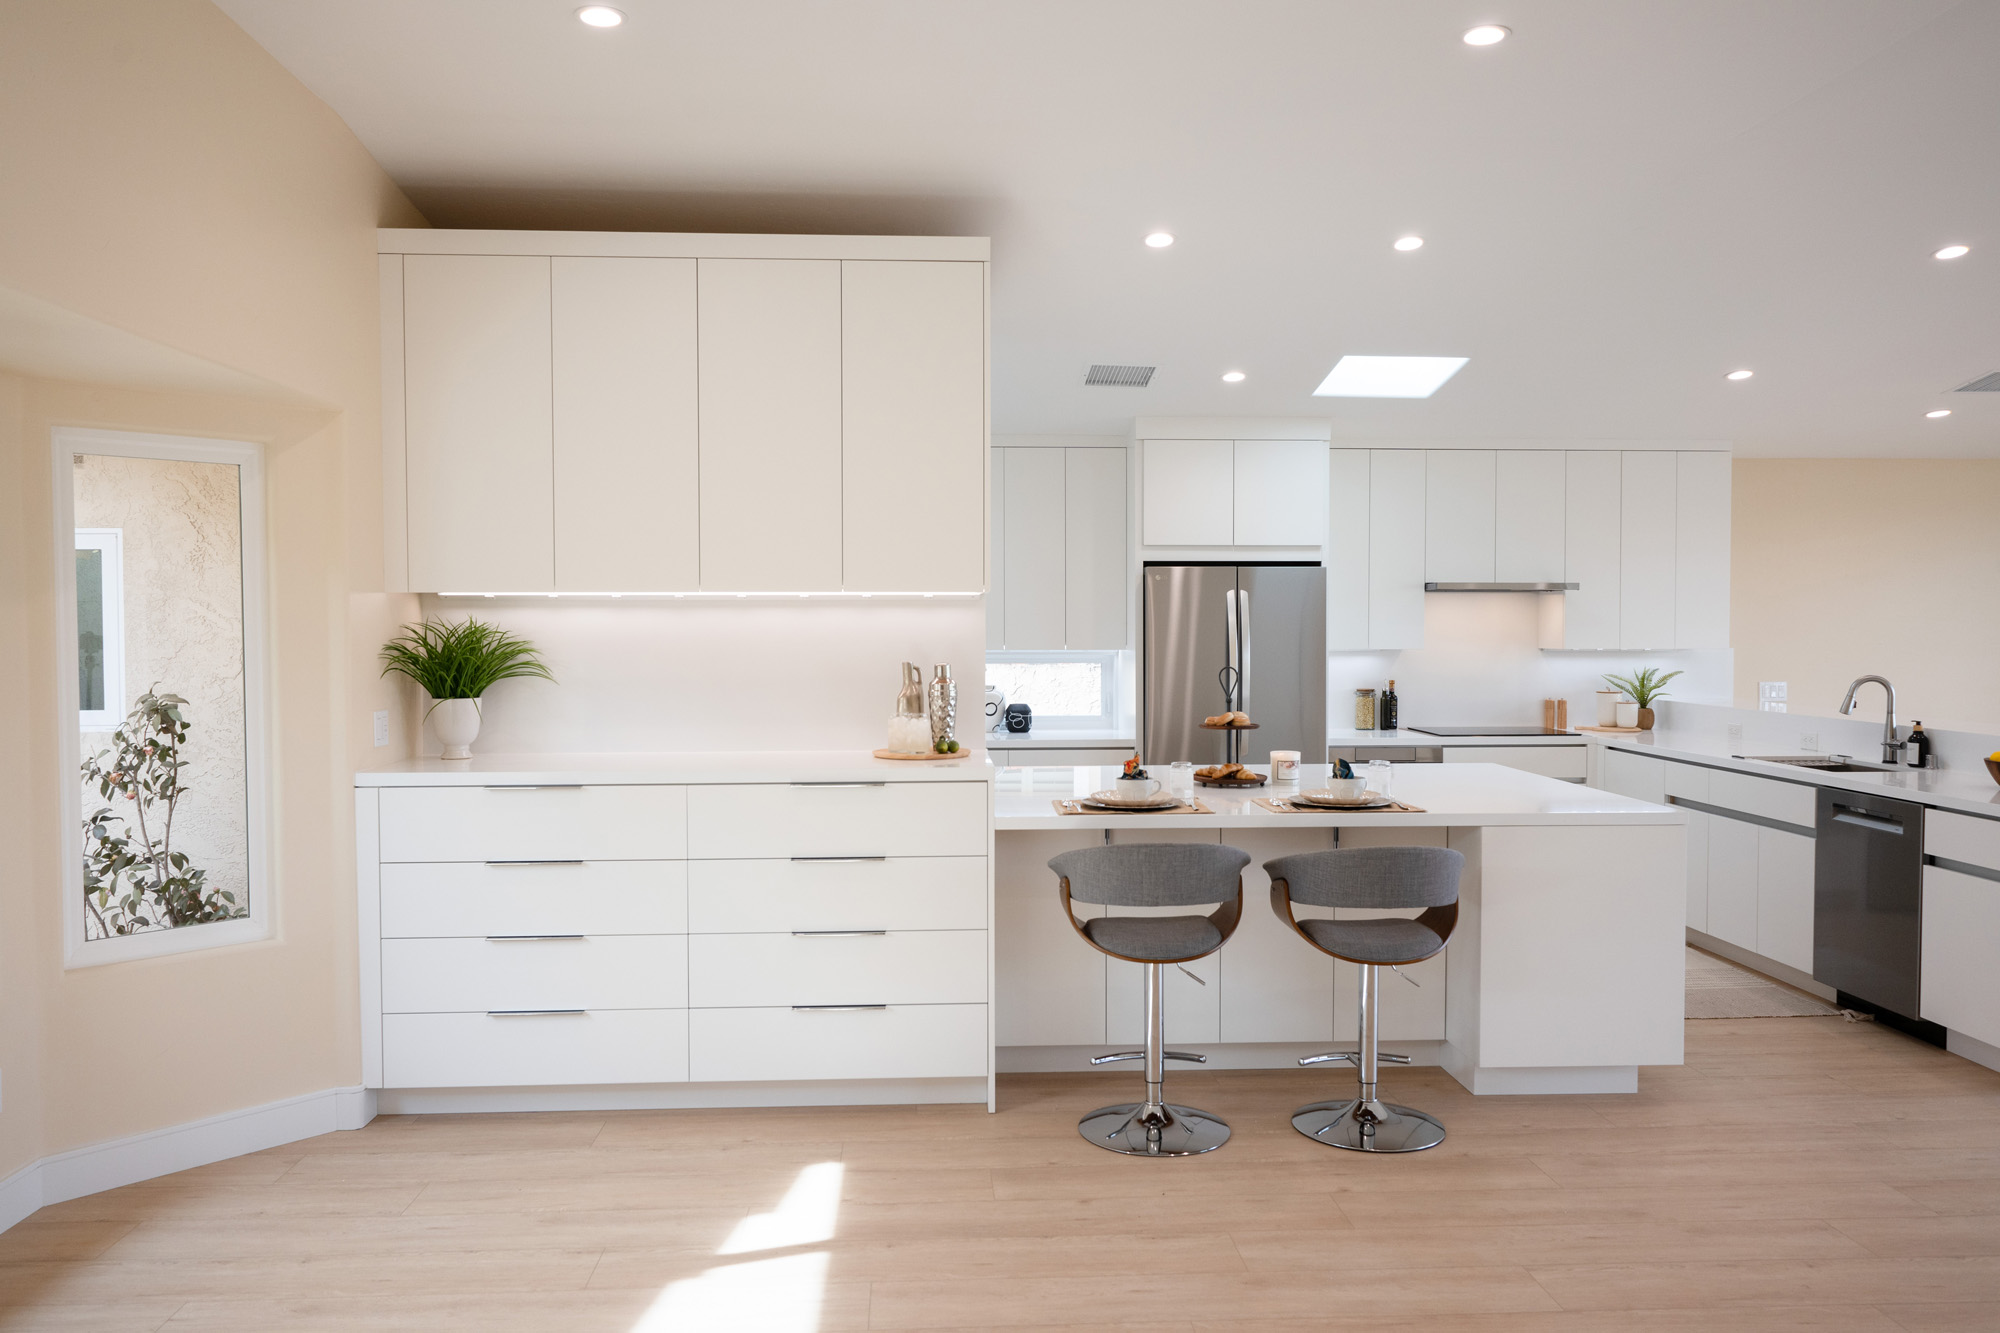
A young family loved to cook but felt cut off from guests in their 1990s‑era kitchen. By removing one non‑load‑bearing wall, we fused the kitchen with the dining and living zones, flooding the core of the home with light and sight‑lines.
Quartz counters, two‑tone Kemper cabinetry, and a 10‑foot island now anchor a space that works equally well for homework, happy hour, and holiday baking. The homeowners tell us the new hub “feels twice as big,” even though its footprint remained the same.
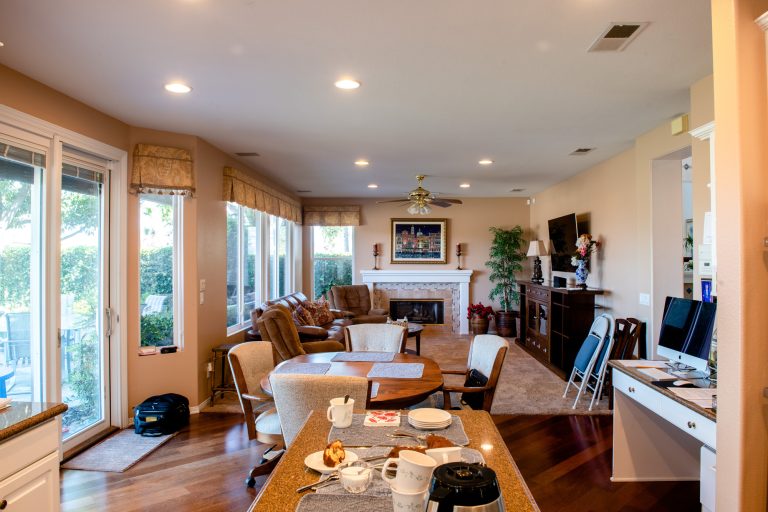

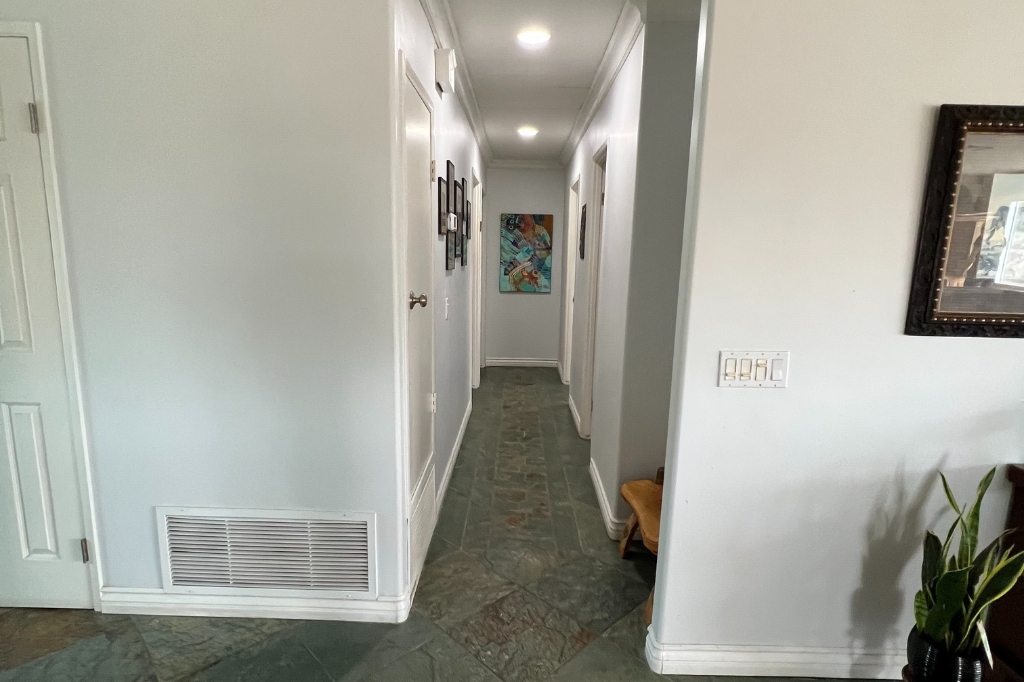
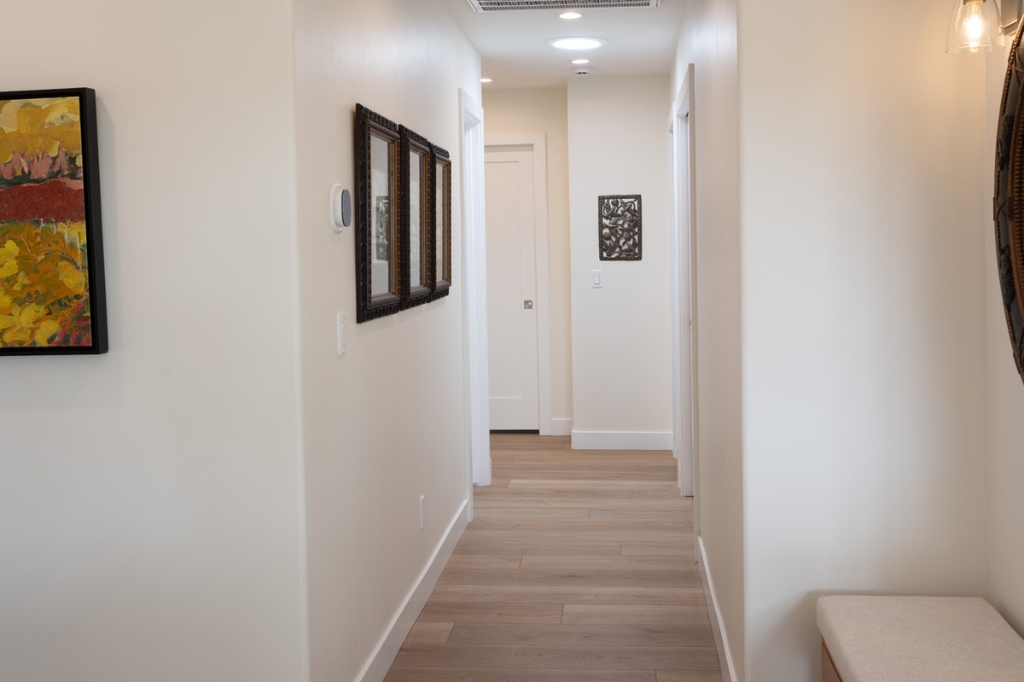
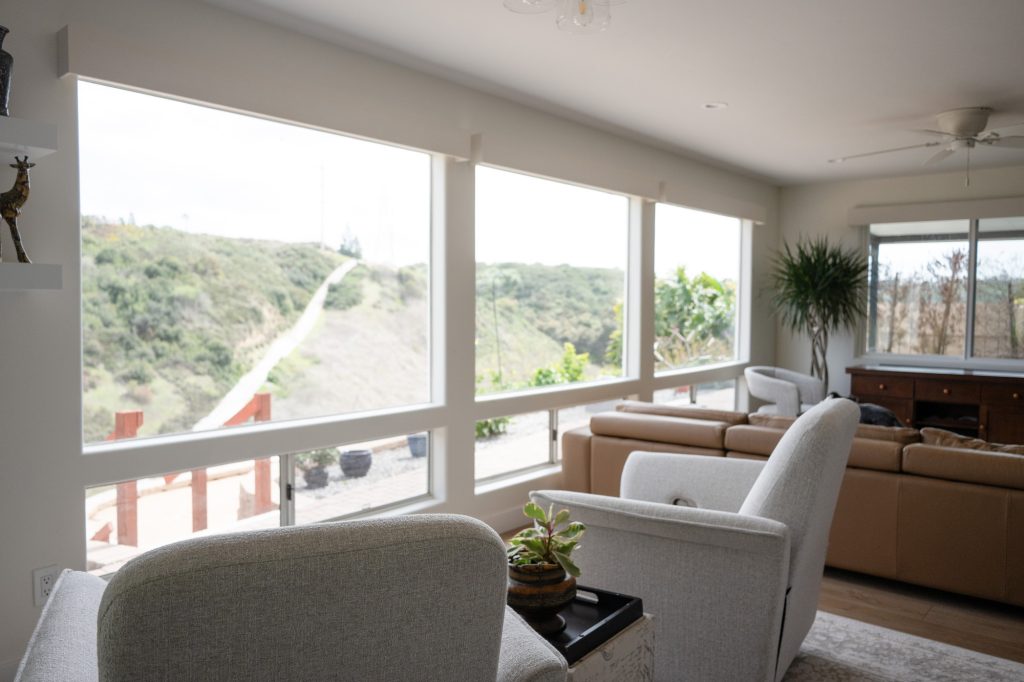
This mid‑century house was riddled with boxy rooms and narrow hallways. Our team strategically relocated the laundry, deleted several interior walls, and carved out a glass‑paneled pocket office without changing the roof or slab.
The result is a breezy, view‑oriented plan where the kitchen, dining, and living areas blend seamlessly into one cohesive great room. Aging‑in‑place upgrades, such as wider passages, lever hardware, and curbless showers, ensure the owners can enjoy the canyon vistas for decades.
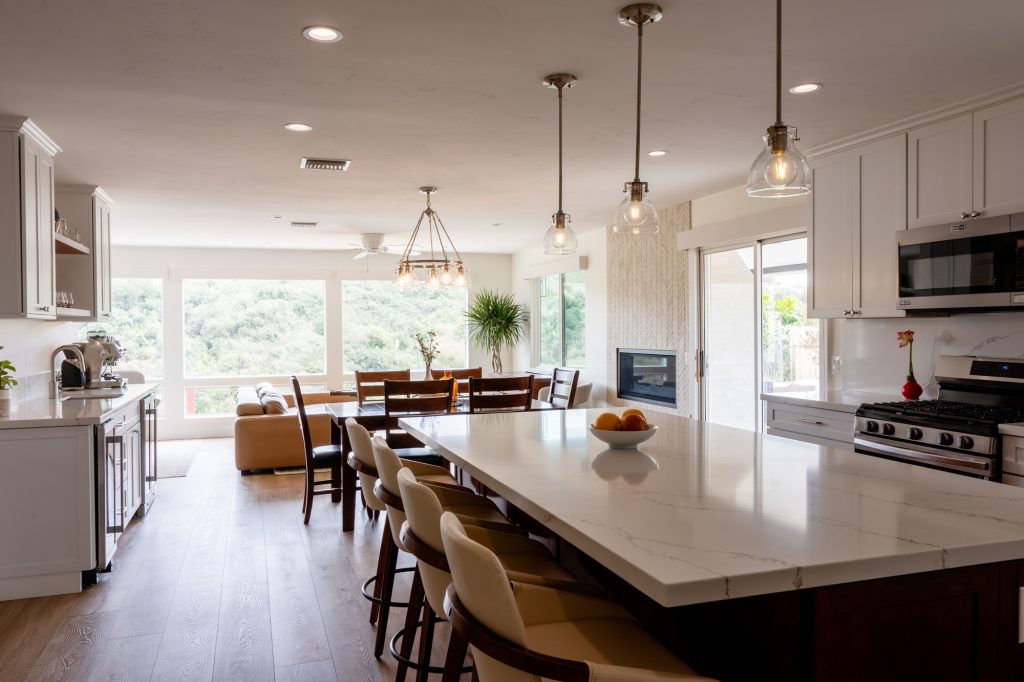

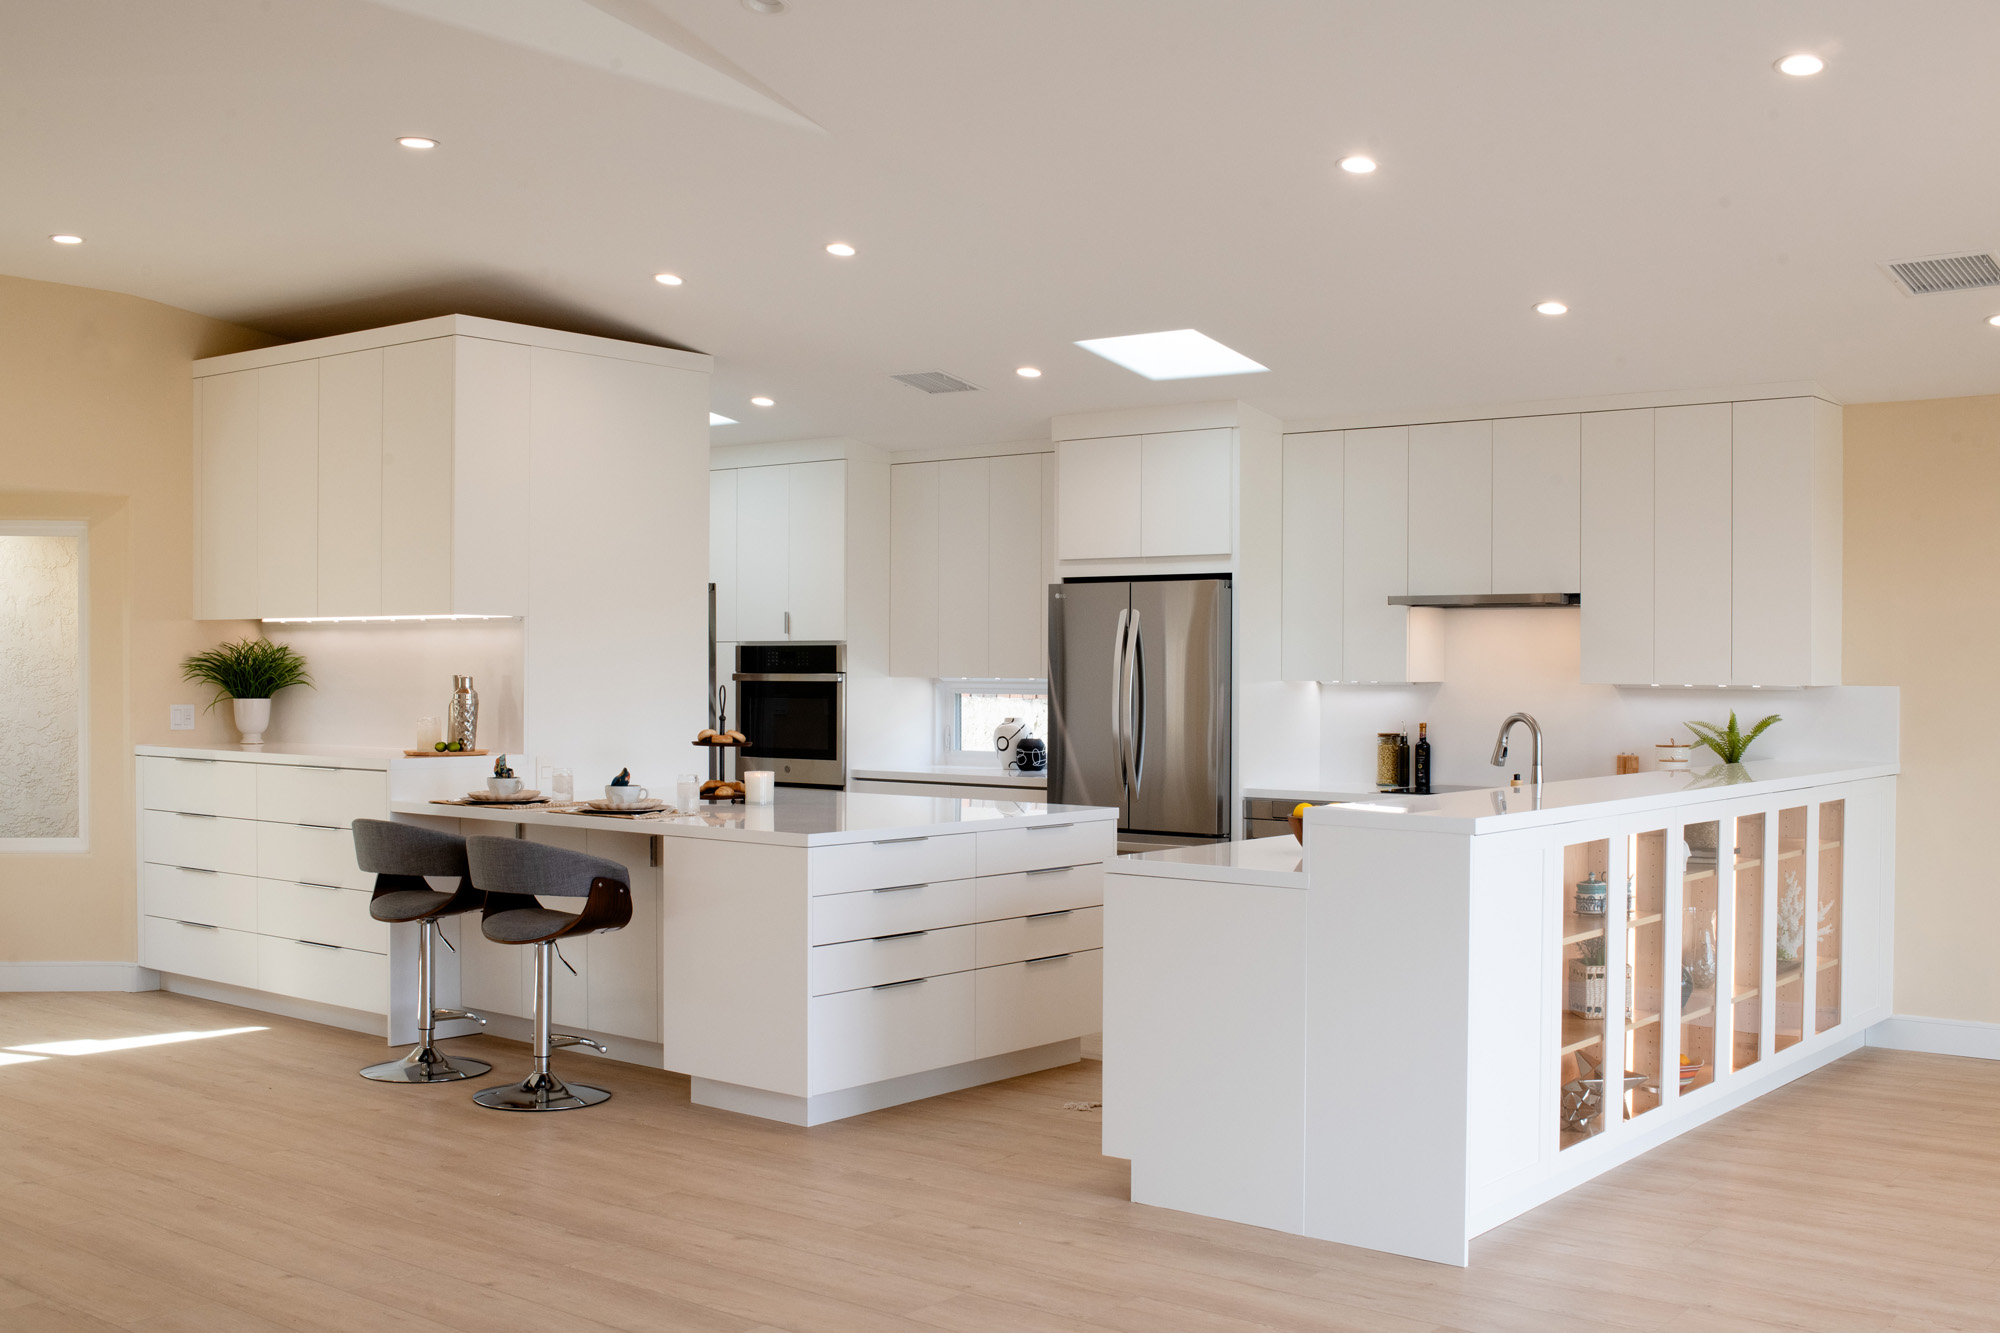
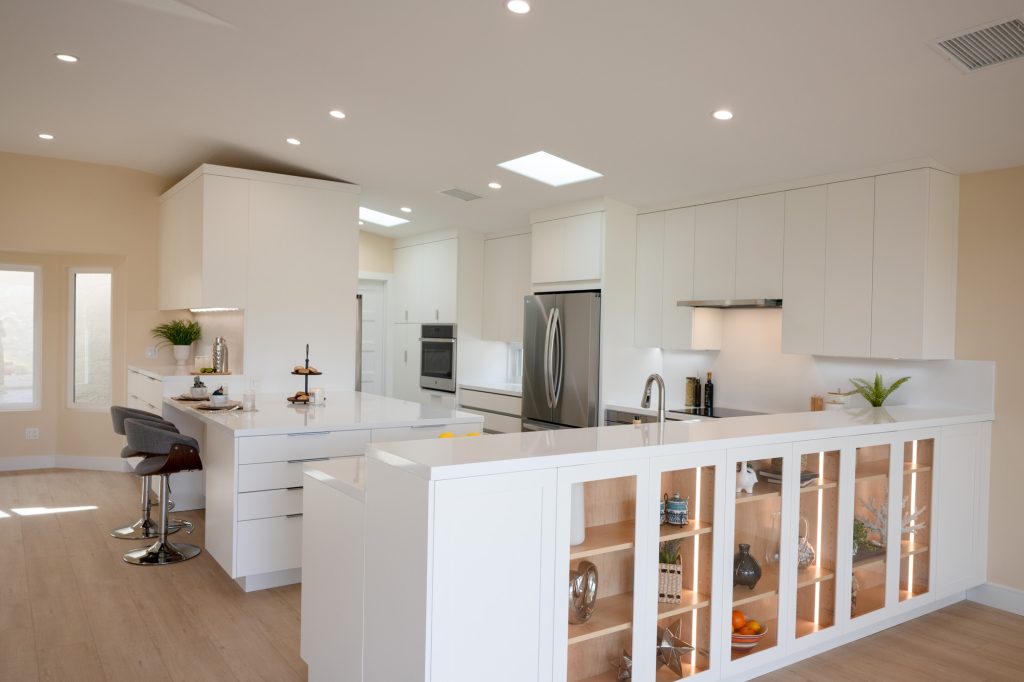
The clients wanted a pure Scandinavian calm, but their original layout felt choppy and dim. We opened up the main floor plan, inserted custom Crestwood maple cabinetry, and concealed smart storage behind clean lines, transforming every square foot into functional space.
Neutral finishes and Nexxacore Aurora LVP flow from the kitchen into the living areas, making the home look and feel larger, again, with no exterior expansion. Future‑proof details (wide passages, slip‑resistant mosaics) mean form and function will stay in harmony for years.
Takeaway: Each of these projects proves that thoughtful interior reconfiguration—not a pricey addition—can unlock dramatic new livability, aesthetics, and resale value while keeping permits, timelines, and budgets firmly under control.
Curious how the dollars stack up? The quick chart below compares typical San Diego costs, permit hurdles, and resale benefits for interior reconfigurations versus full-scale additions, so you can weigh which path delivers the best bang for your remodeling buck.
*Based on local appraisal data and Zillow’s 4 % price-lift figure for “remodeled” listings.
Even interior projects require a building permit in San Diego if you alter the structure, plumbing, or electrical systems. Plan-review fees are minor—about $130 on a $1 million valuation—but we still submit stamped engineering when a wall bears load.2
Because we don’t expand the footprint, you’ll avoid coastal development hearings, stormwater mitigation, and neighborhood development impact fees that can add $10,000 to $40,000 to the cost of an addition.
Ready to turn inspiration into a real-world plan? Use the checklist below as your roadmap. Each step builds on the last, so by the time we meet, you’ll already have a clear picture of your pain points, priorities, and budget, making our first design session twice as productive.
Use this six-step roadmap to clarify goals, costs, and logistics before we draw the first line of your redesign.
Work your way through those six quick steps, and you’ll be amazed how the fog lifts. You’ll see exactly which walls can move, which storage hacks will help, and where professional guidance will save time and money. With that groundwork laid, let’s talk about unlocking the hidden space inside your home.
I’ve spent a decade helping San Diego homeowners breathe new life into tight layouts—without surrendering yards or straining budgets. Before you commit to that pricey addition, let’s explore the underused square footage already inside your walls. You might be amazed at how spacious your home can feel with a few well-planned moves.
Ready to see what’s possible?
Call Kaminskiy Design & Remodeling at (858) 271-1005 or schedule your free in-home design consultation today. Let’s create the space you need—in the house you already love.
Yes. Any change that touches structure, plumbing, electrical, or HVAC — even when the exterior stays the same — requires a City of San Diego building permit. Plan-check fees start at $0.13 per $1,000 of project value, and once your plans clear review, the permit is typically issued within about five business days.
For projects under 1,000 sq ft, we usually spend 2–4 weeks on design, 6–10 weeks in plan review, and 4–12 weeks on construction, depending on material lead times and whether we’re altering load-bearing walls. By comparison, additions often require 12 months or more due to additional engineering and site work.3
Current San Diego data indicate that whole-home reconfigurations typically cost between $200 and $250 per square foot. In contrast, new square footage added to the footprint costs around $550 per sq ft, once you factor in foundations, roofing, and impact fees.
Interior updates generally return a 75–85% resale lift on dollars spent, outpacing many exterior additions that recoup 50–70%, according to the latest Cost-vs-Value and industry analyses. Homes marketed as “remodeled” in San Diego also sell for roughly 4% more and attract more online views.4
In most cases, yes. Because we’re working inside the existing footprint, we can phase the job so you always have a working kitchen or at least one bathroom. Expect extra dust and noise, but you’ll avoid the cost of an extended hotel stay that often accompanies second-story additions.
Homes built before 1978 may contain lead-based paint. Federal rules require lead-safe practices and certified crews whenever painted surfaces are disturbed, so we test first and use dust-control methods if lead is present.5
Additional Resources:

Kimberly Villa is a recognized expert in the Home Design and Remodeling industry. Her passion for the industry is matched only by her love for sharing insights, new trends, and design ideas. Kimberly’s expertise and enthusiasm shine through in her contributions to the Kaminskiy Design and Remodeling website blog, where she regularly shares valuable information with readers.